


In the world of caffeine enthusiasts, the quest for the perfect cup of coffee is a never-ending journey. If you're tired of the usual hot brew and looking for a refreshing twist, why not try making iced coffee in your water bottle infuser? It's a simple and convenient way to enjoy a cool and flavorful coffee experience on the go. In this blog post, we'll guide you through the steps to create your own delicious iced coffee using a water bottle infuser.
Ingredients:
1. Coarsely ground coffee beans
2. Cold water
3. Ice cubes
4. Sweeteners or flavored syrups (optional)
5. Milk or cream (optional)
Equipment:
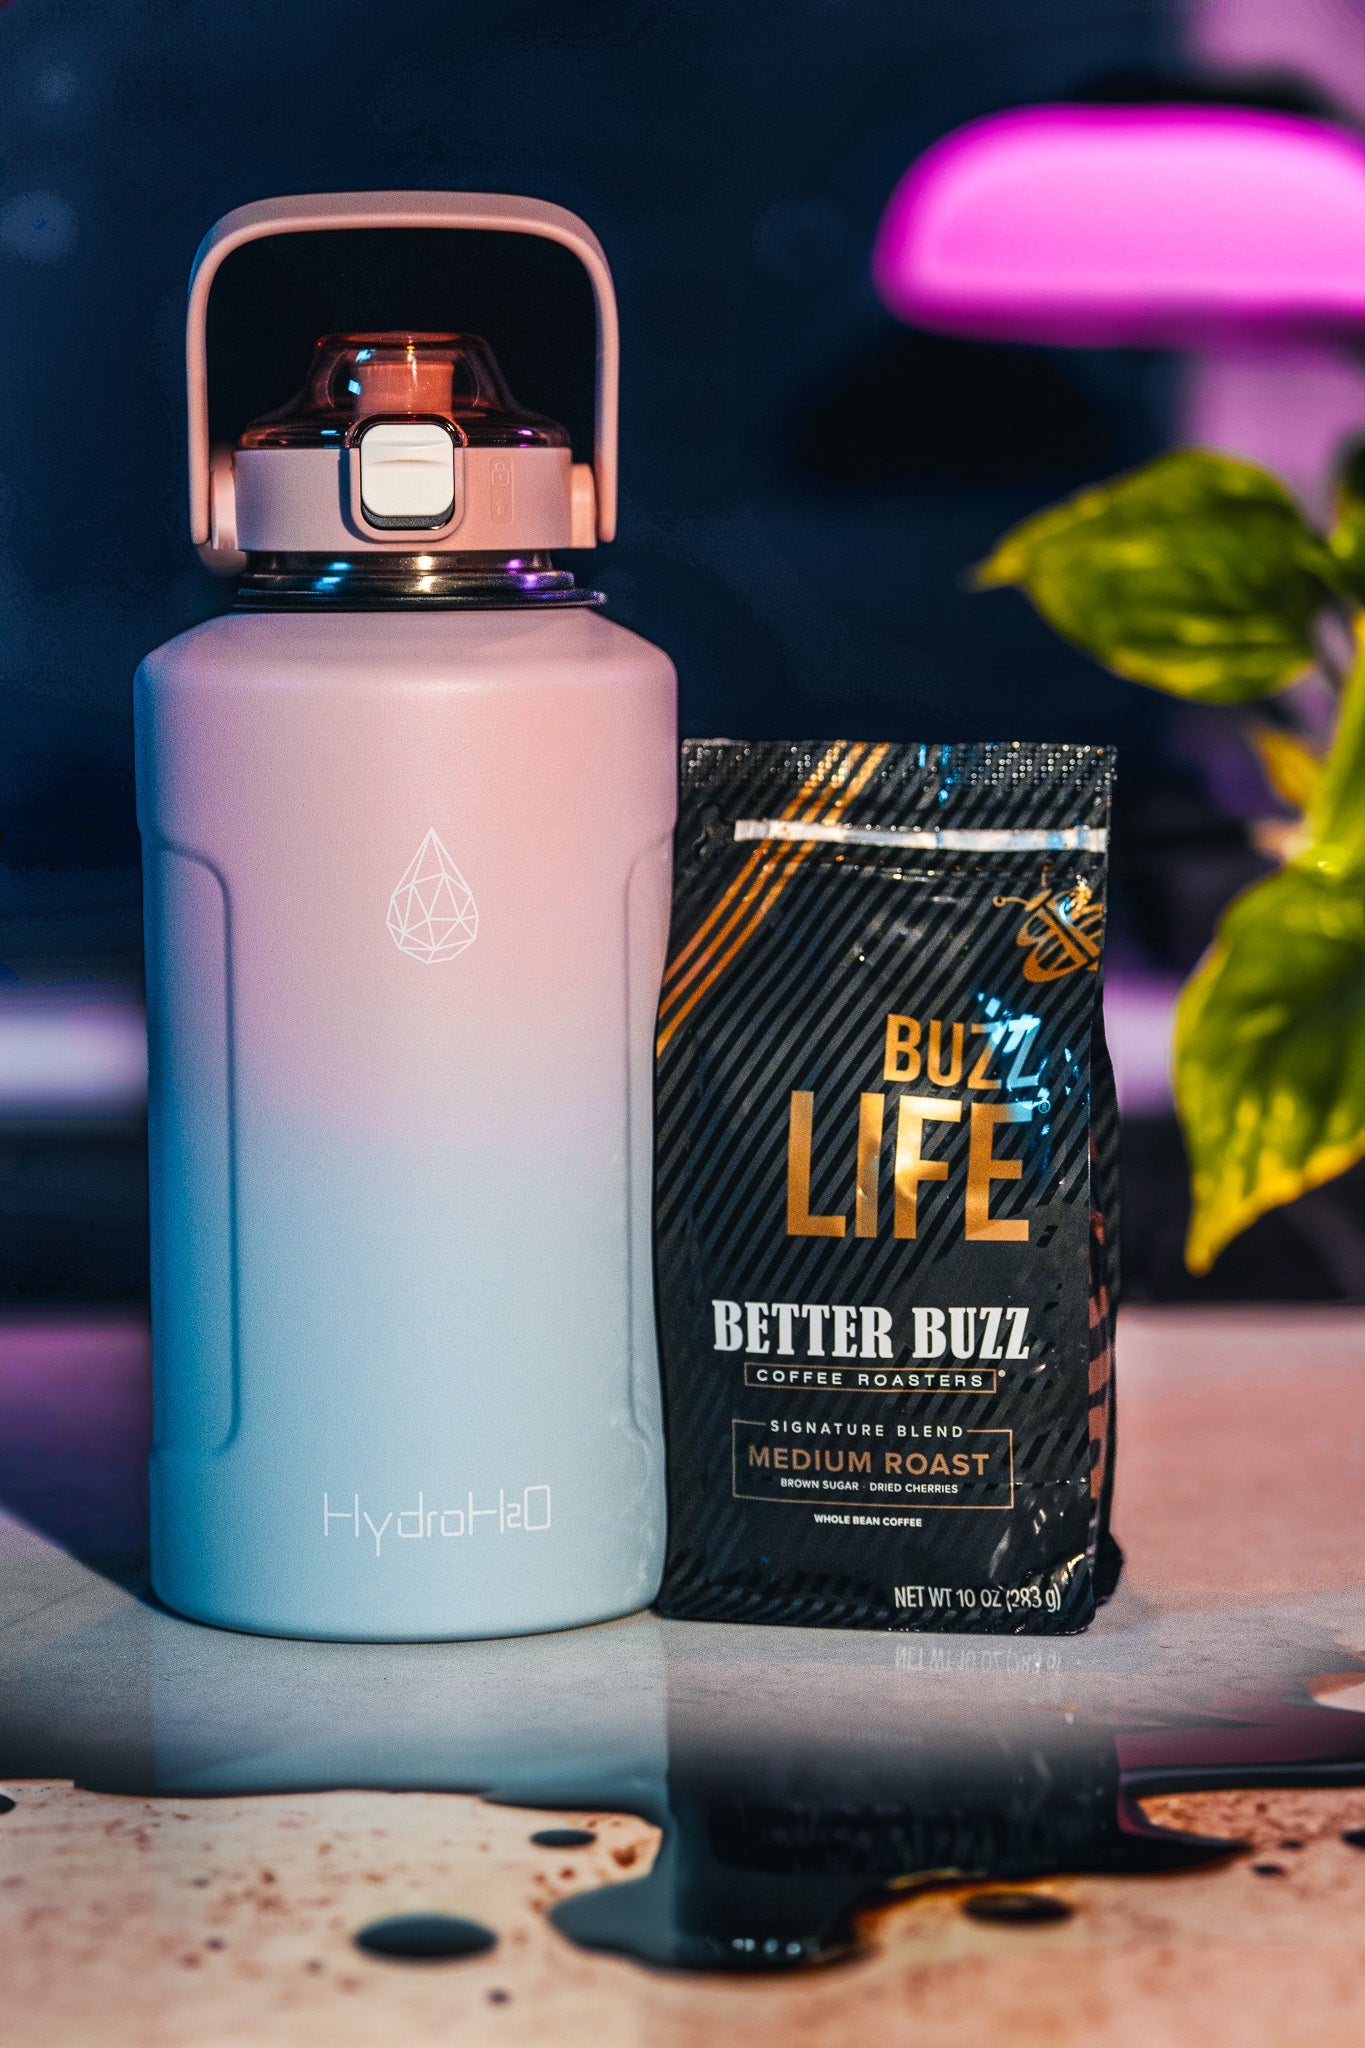
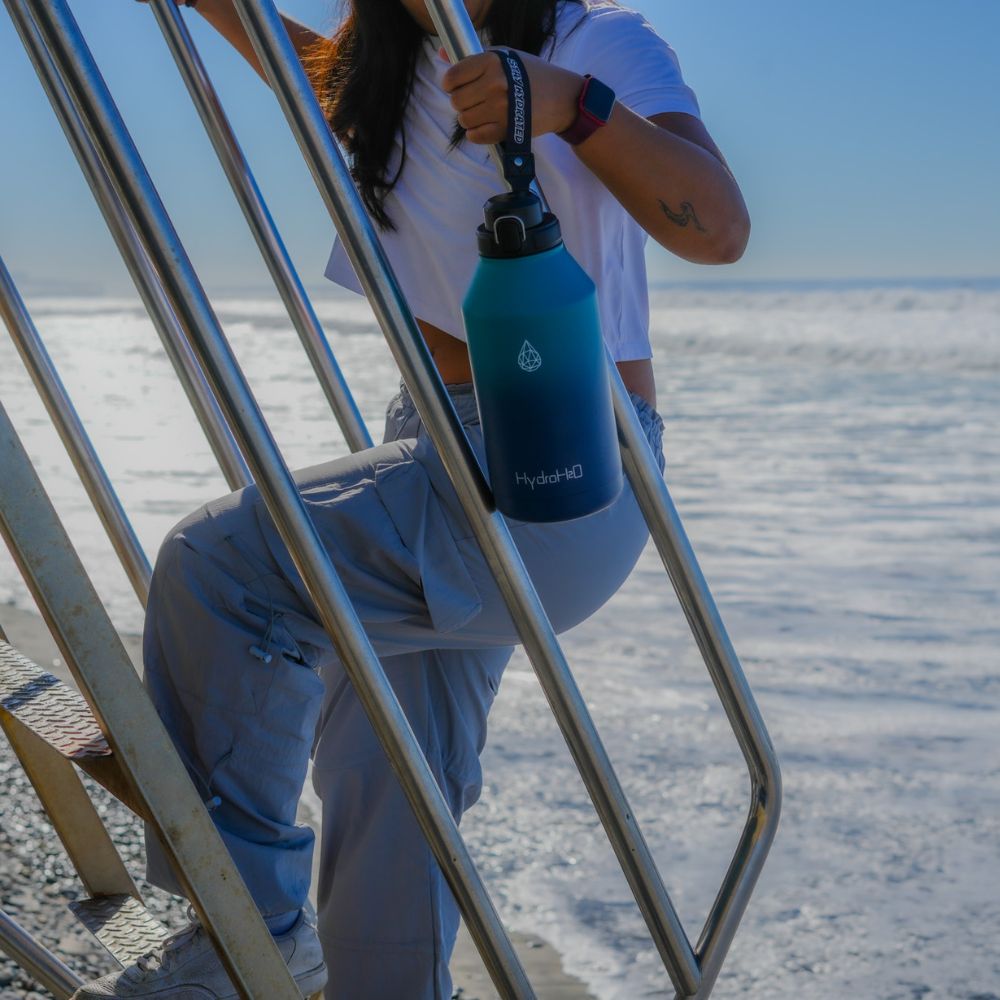
1. Water bottle infuser
2. Coffee grinder
3. Water kettle or pitcher
4. Spoon
5. Strainer or filter (optional)
Step 1: Choose the Right Coffee Beans
The key to a great iced coffee lies in the quality of your coffee beans. Choose a medium to dark roast for a richer flavor. For an extra kick, experiment with flavored beans like vanilla or hazelnut.
Step 2: Grind Your Coffee Beans (Skip this step if your coffee is ground already!)
Grind your coffee beans to a coarse consistency, similar to what you would use for a French press. This helps extract the flavors without making the coffee too bitter.
Step 3: Measure and Add Coffee to the Infuser
Using a tablespoon, measure out the desired amount of coarsely ground coffee into the water bottle infuser. The amount depends on your taste preferences, but a good starting point is around 1 to 2 tablespoons per cup of water. We like to fill the ChillBrew infuser to the top!
Step 4: Add Cold Water
Fill the water bottle infuser with cold water. If possible, use filtered water for a cleaner taste. Secure the infuser lid tightly to prevent any leaks.
Step 5: Infuse overnight
Shake up the bottle and let it steep for at least 8-12 hours. This slow steeping process allows the coffee to extract its full flavor without the bitterness associated with hot brewing.
Step 6: Remove coffee grounds
Once the steeping is complete, remove the infuser from the bottle. Hand washing the infuser is recommended.
Step 7: Customize Your Iced Coffee
Now comes the fun part – customizing your iced coffee to your liking. Add ice cubes for an extra chill, and feel free to sweeten with sugar, honey, or flavored syrups. For a creamier texture, include milk or cream.
Full Video Tutorial:
Making iced coffee in your water bottle infuser is a game-changer for coffee lovers who crave a refreshing twist on their daily caffeine fix. Experiment with different coffee beans, flavors, and ratios to find your perfect blend. With a little patience and creativity, you can enjoy a delicious and cool iced coffee wherever you go. Cheers to your new favorite DIY coffee creation!
